
Unlock the Magic of Freestanding Machine Embroidery
Have you ever seen beautifully detailed embroidery designs that seem to stand on their own? That’s the magic of freestanding machine embroidery designs! Whether it’s delicate lace ornaments, decorative patches, or detailed 3D creations, freestanding embroidery opens up a world of creative possibilities.
But if you’ve ever wondered how to embroider freestanding designs and struggled with getting the perfect result, you’re not alone. Many embroidery enthusiasts face challenges like choosing the right stabilizer, preventing design distortion, and ensuring durability.
In this guide, we’ll walk you through everything you need to know—from what freestanding embroidery is to how to create stunning designs. Whether you’re a beginner or an experienced embroiderer, you’ll gain the skills to bring these unique projects to life.
What is Freestanding Embroidery?
Freestanding embroidery is a technique where the design is stitched onto stabilizer instead of fabric, allowing it to hold its shape independently. Once the stabilizer is removed, you’re left with a beautiful and complex embroidery piece.
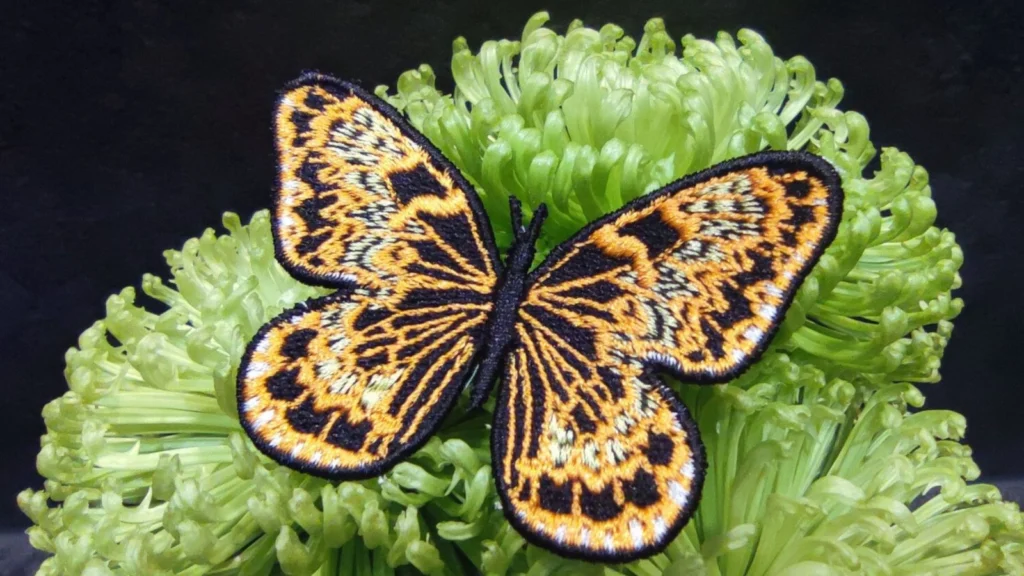
Unlike traditional embroidery, which is stitched directly onto fabric, freestanding embroidery designs are self-supporting. This makes them perfect for creating lace ornaments, jewelry, appliques, decorative patches, 3D projects, and home decor items.
How Does Freestanding Embroidery Work?
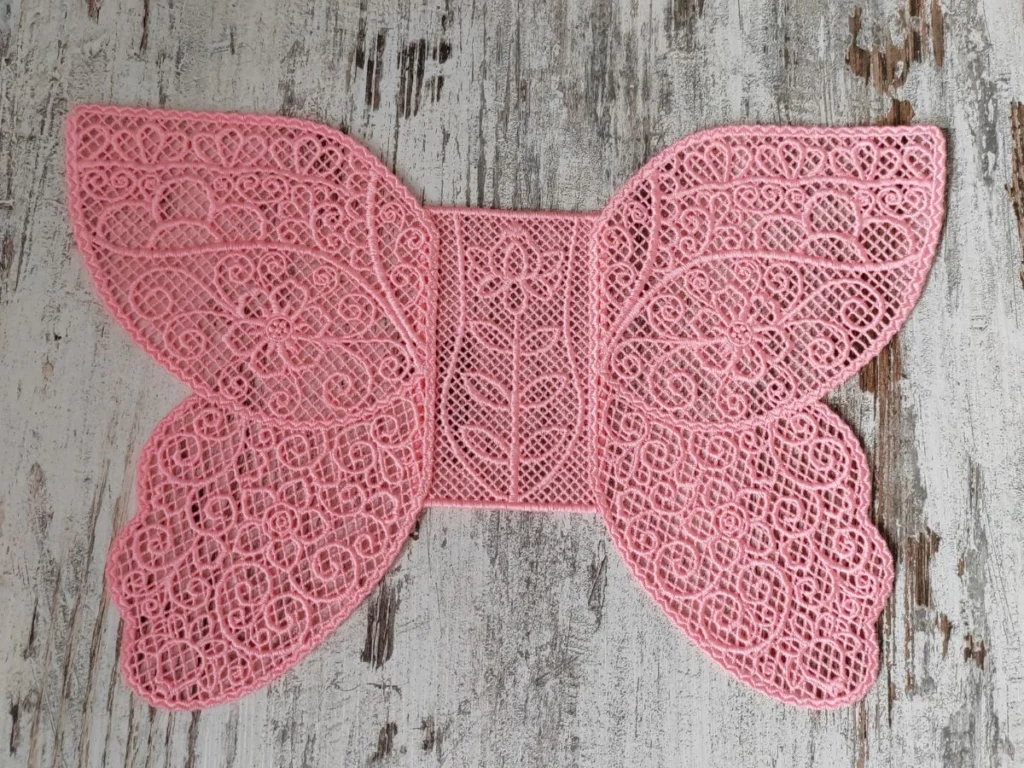
Freestanding embroidery designs are specially digitized to ensure the stitches interlock securely, allowing the piece to stay intact once the stabilizer is rinsed away. The most popular technique is freestanding lace (FSL), where thread forms a delicate lace-like pattern.
Common Uses for Freestanding Embroidery
- Lace ornaments (Christmas decorations, snowflakes, angels)
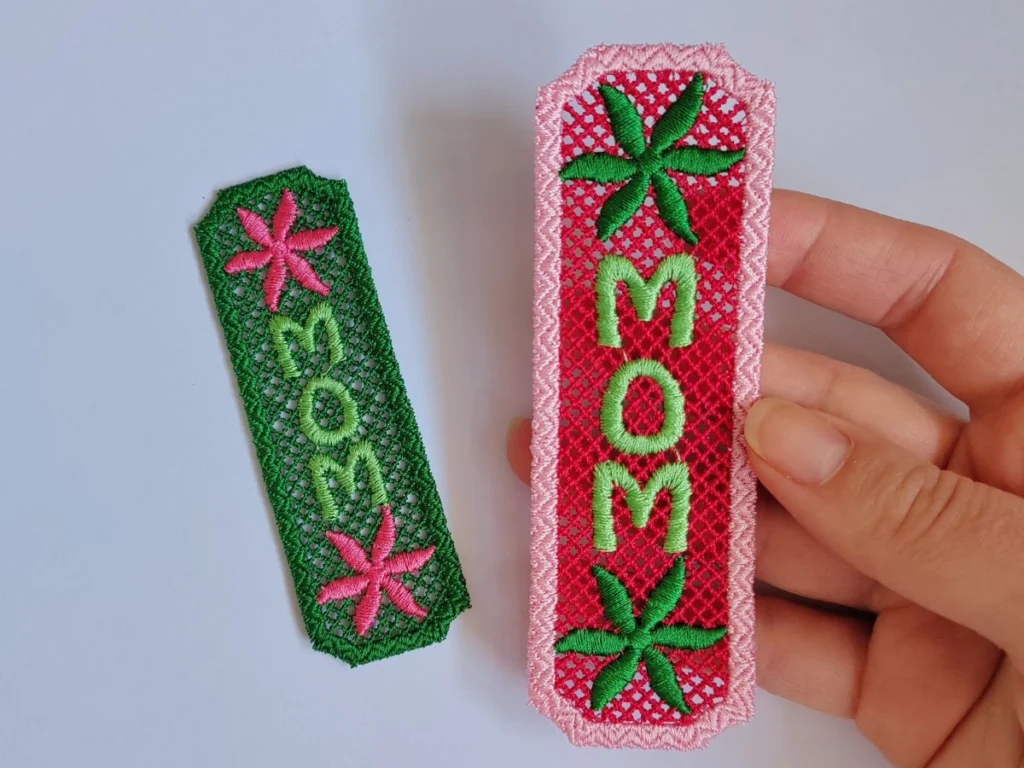
- Appliques and patches (badges, monograms, logos)
- 3D projects (baskets, bowls, flowers, accessories)
- Home decor (coasters, bookmarks, table runners, doilies)
A Brief History of Freestanding Embroidery
Freestanding embroidery traces its origins to traditional lace-making techniques from the 16th century. Early forms of lace were created by hand, using needle lace and bobbin lace methods. Which required grat deal of experience and a lot of time. These laces were highly prized and decorated royal garments, household linens, etc.
During the Industrial Revolution, lace-making machines were developed, making lace more accessible but still requiring fabric as a base. It wasn’t until the late 20th century that computerized embroidery machines and water-soluble stabilizers allowed for true freestanding designs—where the lace could be created without a fabric base.
Today, freestanding embroidery is popular among both hobbyists and professionals, with advances in digitized embroidery files making it easier than ever to create intricate designs.
How to Embroider Freestanding Lace Designs
Freestanding embroidery may seem complicated, but with the right materials and a little practice, it’s incredibly rewarding. Here’s how you can create your own freestanding lace designs!
Step 1: Prepare Your Hoop and Stabilizer
Start by cutting two pieces of water-soluble stabilizer that are slightly larger than your hoop. I recommend using two layers of 40g wash-away stabilizer (such as “New Brothread”). Hoop the stabilizer tightly, ensuring it’s flat and secure in the hoop. Proper hooping is essential for clean and precise stitching.
Step 2: Load the Design
Transfer your chosen freestanding lace design to the embroidery machine. Make sure the design fits within the hoop’s dimensions. Follow your machine’s instructions to load the design properly.
Step 3: Thread the Machine
Thread your embroidery machine with the selected embroidery thread. Be sure to wind a matching bobbin thread as well. Using high-quality thread ensures durability and a polished, professional finish for your lace.
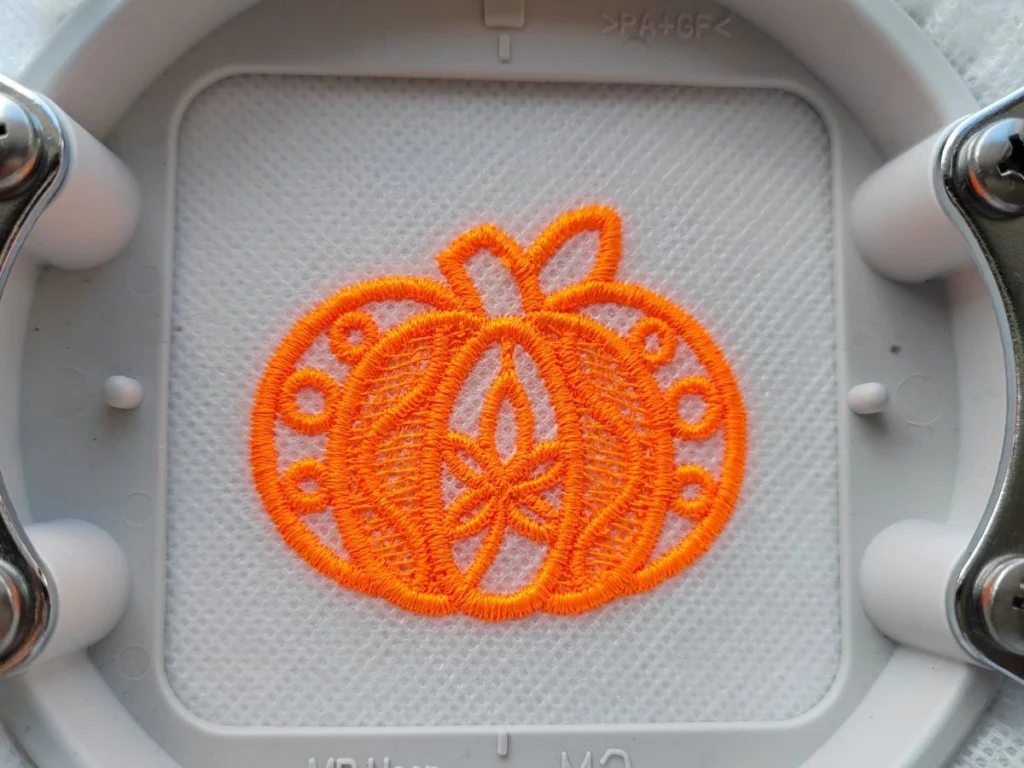
Step 4: Stitch the Design
Start the embroidery machine and let it stitch the lace design. For optimal results, use a lower speed on your machine to ensure precise stitching. The machine will automatically follow the pattern, so it’s important to monitor the process for any issues like thread breakage or bobbin depletion.
Step 5: Trim Excess Threads
Once the machine finishes stitching, remove the hoop carefully. Trim any excess thread tails from both the front and back of the lace to give it a clean, professional look.
Step 6: Remove from the Hoop and Stabilizer
Gently unhoop the lace and cut away the excess water-soluble stabilizer around the edges. Use small scissors to avoid damaging the delicate design. Be careful during this process!
Step 7: Rinse and Dry
To remove any remaining stabilizer, dip the lace in lukewarm water for a brief time. This will dissolve the stabilizer while leaving enough behind to maintain the structure of the lace threads. After rinsing, allow the lace to air dry completely before using it in your projects.
Bring Your Freestanding Embroidery to Life!
Freestanding embroidery is a creative and rewarding technique that allows you to craft stunning, self-supporting designs for all kinds of projects. Whether you’re making lace ornaments, 3D creations, or decorative home decor, the possibilities are endless once you master the basics.
By following the steps in this guide, you’ll have the knowledge and confidence to create beautiful freestanding lace designs. With a bit of practice, you can experiment with different colors, patterns, and threads to personalize your creations.
We’d love to hear about your freestanding embroidery experiences! Feel free to share any tips, ask questions, or tell us about your favorite projects in the comments below.
If you’re excited to create your own freestanding lace designs, be sure to check out our Freestanding Lace Collection. Start your next project today!
Happy stitching, and enjoy creating your freestanding embroidery masterpieces!
Stay tuned and follow us on Facebook for more ideas, tips, and inspiration as you keep exploring the vibrant world of machine embroidery.
