
Welcome to the world of machine embroidery!
Embroidery it’s a popular and creative way to decorate fabrics. Now, when more and more people are reaching for unique and creative home decors, and personalized gifts. It’s also a great idea for small business.
In this blog we’ll cover the basics, from choosing the right machine to starting your first project. Additionally, machine embroidery offers endless possibilities, from customizing clothes to making unique home decor. In this blog, you’ll learn about essential tools, setting up your workspace, and keeping your machine in good shape.
Whether you want to make personalized gifts or start a small business, this wonderful craft lets you express yourself. Join us as we embark on this exciting journey, turning threads into art and making ordinary fabrics extraordinary. Let’s get started on this artistic adventure in machine embroidery!
Picking the Right Embroidery Machine
To kick off your embroidery adventure, first, you need to choose the ideal machine. With various options out there, consider a few key factors before making this exciting purchase.
Before you start looking for an embroidery machine, think about your budget. Entry-level machines are great for beginners, offering essential features at a reasonable cost. However, if you’re ready for more advanced features, higher-end models might be worth exploring. With this in mind, consider your long-term goals. Are you exploring machine embroidery as a casual hobby? Do you plan on tackling more complex projects and turning your passion into a business? Your goals can influence the type of machine that suits you.
Next, think about features. Different machines have different capabilities, so decide if you want basic functions or a machine for complex projects. Look for features like multiple needle positions, stitch options, and compatibility with various file formats. Moreover, prioritize user-friendliness. A machine that’s easy to set up and navigate will enhance your learning experience. Look for intuitive controls, clear instructions, and, if possible, a machine with online tutorials or community support.
Also check brand reputation, this matters too. Choosing a machine from a reputable brand ensures reliability and good customer support. Check customer reviews and get recommendations from fellow embroiderers. Learn about machine performance and durability.
Before you decide on your embroidery machine, it’s good to go and visit local dealers. They can give you some valid information, show you what they have in store and give some advice.
Choosing your first embroidery machine can be overwhelming. However, by considering these factors, you’ll be better prepared to choose a machine that aligns with your creative vision. So take your time and consider all the pros and cons.
Necessary Supplies and Tools
Now that you have your ideal machine, let’s explore the essential supplies and tools to bring your creative ideas to life.
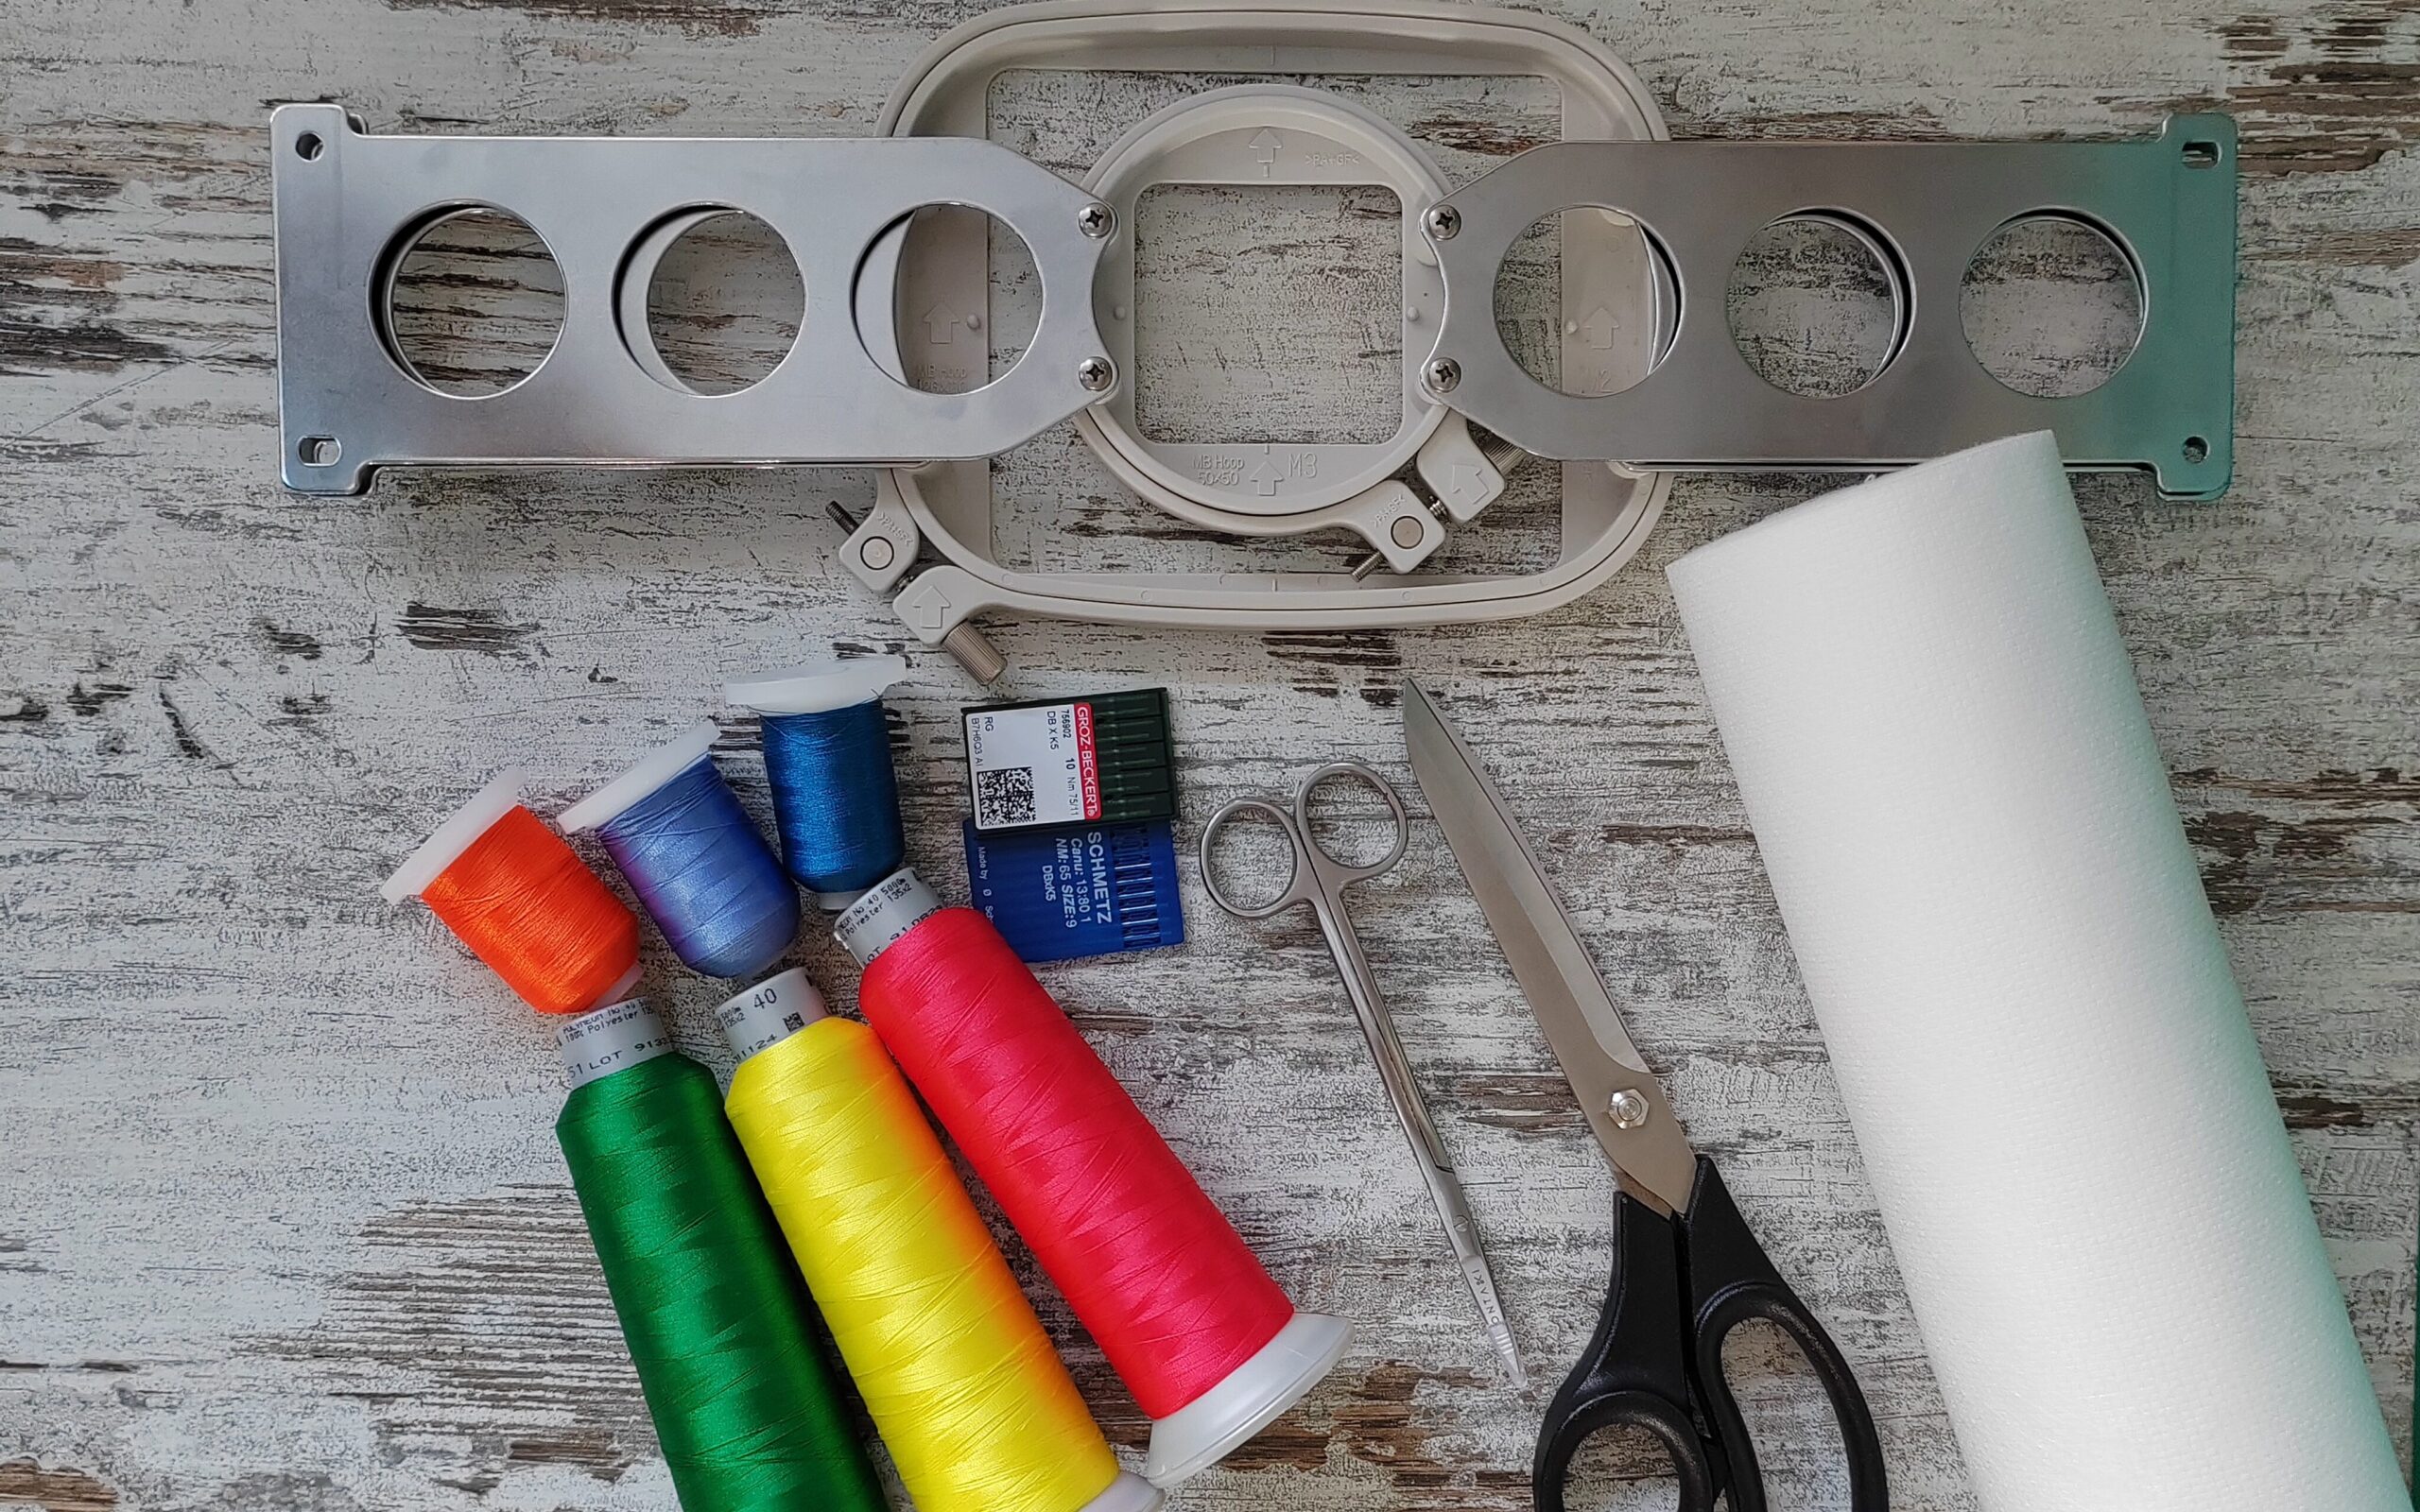
- Threads:
Invest in quality polyester or rayon threads for their sheen and durability. It’s essential to use the right thread for the embroidery machine to work correctly. A diverse color palette adds creativity to your projects.
- Needles:
Select the right needles for your machine and projects. Different sizes make a significant difference, so check your machine’s manual for recommendations.
- Stabilizers:
Stabilizer is the foundation of your embroidery and is a necessity to support your fabric and thread. It’s important to use proper stabilizer. Otherwise, the registration of the design may be off, you might have puckering, and your fabric may distort. There are 3 main types of stabilizers- tear away, cut away and wash away. In fact, choosing the right stabilizer for your project can make a big difference to your design.
- Embroidery Hoops:
Your new machine comes with at least one hoop. However, you may want to invest in various hoop sizes to accommodate different project dimensions. But first, check your machine manual, as every embroidery machine has a sewing filed limit. In order to get the best embroidery results, hooping your fabric is as important as adding stabilizer. Magnetic or snap hoops, simplify and secure the hooping process.
- Bobbin Thread:
Wind the bobbin with high-quality thread that complements your top thread for balanced stitches and enhanced embroidery quality.
Other Tolls
- Scissors and Snips:
Additionally, a good pair of embroidery scissors is essential for trimming threads and fabric. Embroidery scissors are a special kind of scissors. They are small, very sharp and pointy. In fact, they allow you to snip the thread very close to the fabric, which keeps your work neater.
Marking Tools:
Keep fabric markers or chalk for transferring designs onto fabric, ensuring accurate positioning before stitching.
Storage Solutions:
Organize threads, needles, and accessories with racks, organizers, or storage boxes for an efficient workspace and minimized frustration.
Before starting your first project, ensure you have these essentials. They lay the foundation for successful and enjoyable machine embroidery. With this in mind we are moving to the next sections. Where we’ll guide you through setting up your workspace!
Setting Up Your Workspace
Without a doubt, creating an organized and inviting workspace is important for a delightful and efficient machine embroidery experience. Let’s explore some tips for setting up your embroidery haven.
Firstly, choose a work space for your embroidery projects. A dedicated area keeps you organized and ensures easy access to all your tools and materials. This will be your happy place where you can explore your creativity.
For your embroidery machine, you need a stable surface. Get a robust table or embroidery cabinet that can handle the machine’s vibrations, contributing to better stitch quality. Allow some space around your machine for arms to move when embroidering. Make sure you have easy access to changing threads and servicing the machine. It will need regular cleaning and oiling. For more details on this topic, please visit your machine manual.
Ensure good lighting in your workspace, preferably using natural light. If natural light is not available, you can use cool LED lights to illuminate your work area.
Keep needles and accessories organized with storage solutions. Using a rack or organizer for thread, it adds a decorative touch and makes it easy to find the right color for your project. This, not only enhances your workspace visually, but also saves time during projects.
Finally, surround yourself with inspiration! Create a board with embroidery samples, color palettes, and project ideas. It’s a visual reminder of the creative possibilities ahead.
In conclusion, by thoughtfully organizing your workspace, you set the stage for a seamless and enjoyable machine embroidery journey. The more comfortable and inviting your space, the more inspired you’ll be to bring your embroidery ideas to life.
In the next sections, we’ll dive into learning basic techniques, so you can confidently start stitching your creative visions!
Setting Up Your Machine

Now that your workspace is ready, let’s delve into the exciting world of machine embroidery. Mastering the basics is key to creating precise and beautiful designs, let’s explore the fundamental steps to start your embroidery journey.
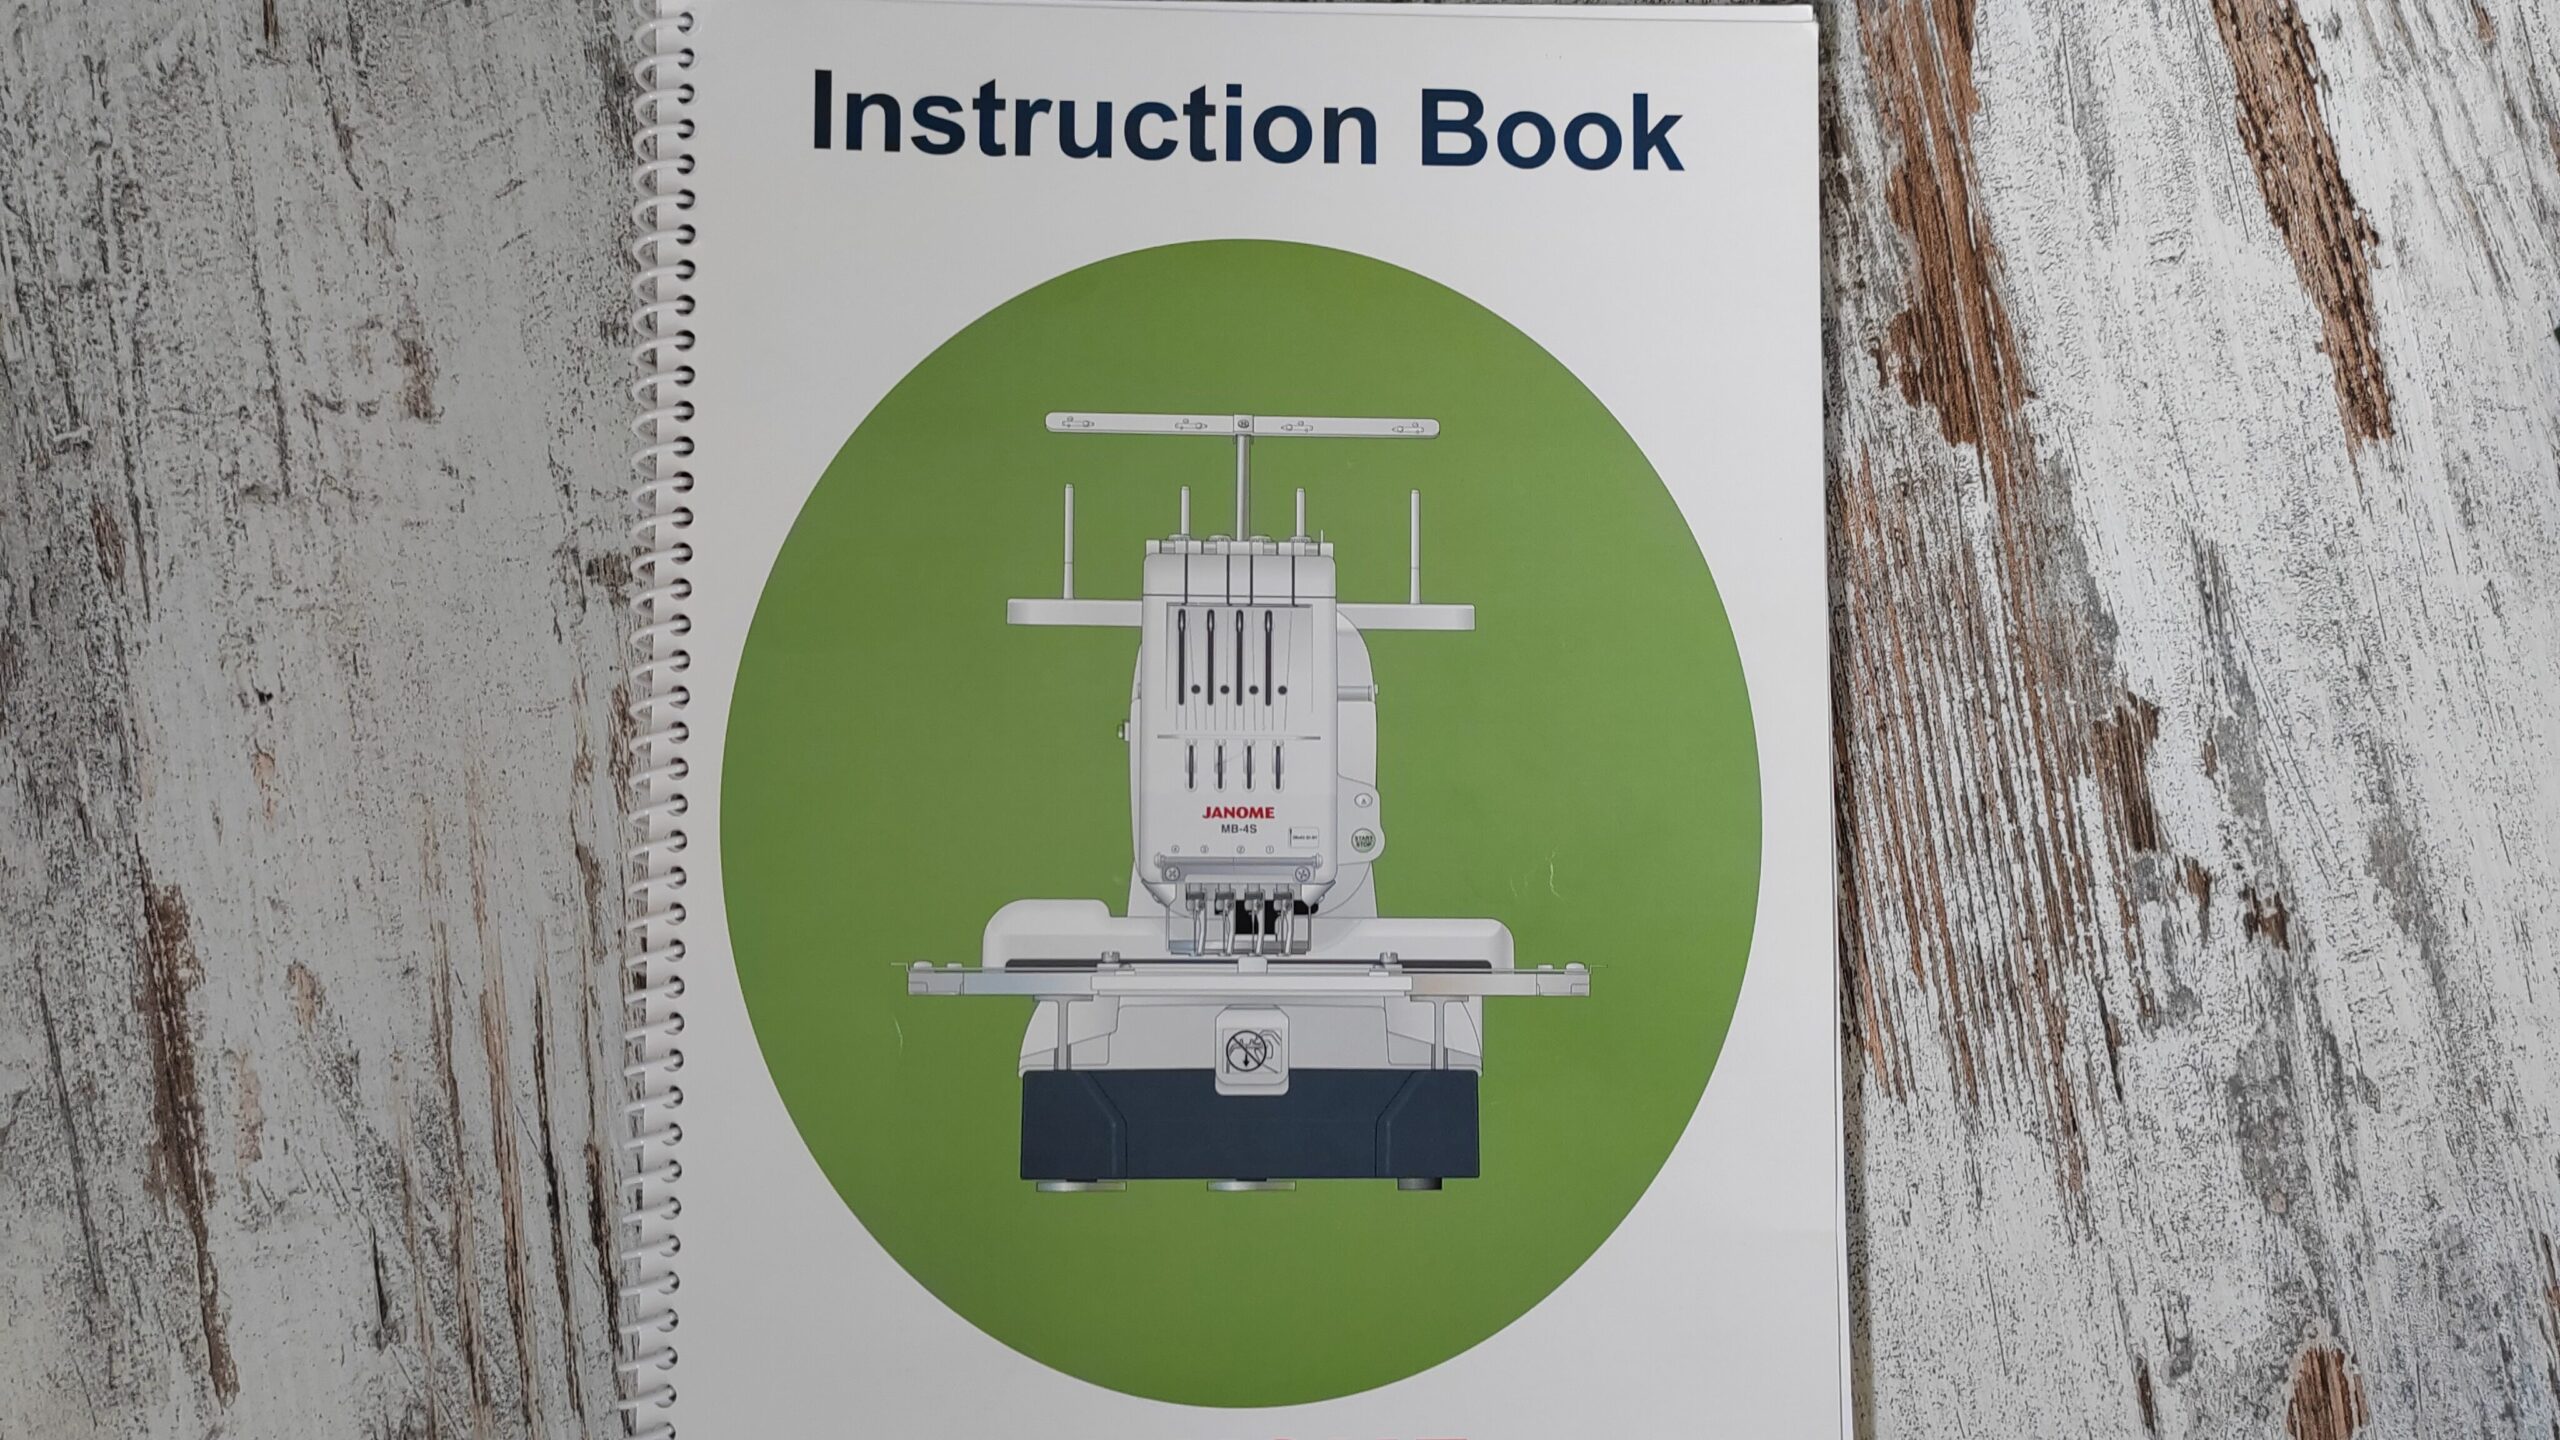
Before you start embroidering, learn how to set up your machine. Study the machine manual carefully. Familiarize yourself with machine features, operating buttons and all the functions that your machine have to offer.
When threading your embroidery machine for the first time, pay attention to the thread path, ensuring it passes through all necessary guides and tension discs. Remember, smooth embroidery relies on properly wound bobbins. Load the bobbin as per the machine’s instructions, checking for the correct orientation and thread tension.
Select the right needle for your project and change needles regularly for optimal stitching.
As I mentioned earlier, proper hooping is fundamental. Ensure the fabric and stabilizer are taut and smooth within the hoop, providing a stable foundation for precise stitching.
Now you are read to stitch your first design.
Starting Your First Embroidery Project
Congratulations on reaching the exciting stage of launching your initial machine embroidery project! Now that you’ve mastered the basics and ensured your machine is in optimal condition, let’s guide you through the exhilarating process of bringing your creative vision to life.
Before we start, look at your machine stitch patterns. Some of the machine’s have built-in designs. It’s best to start with those before you jump in to design from an unknown digitizer. Bad design can discourage you from this wonderful craft and even damage your machine. For your first projects, select the designs with fewer colors and work your way up as you gain confidence and experience. Consider a small motif, monogram, or basic shape that allows you to focus on applying the techniques you’ve learned.
Pick thread colors that complement your fabric and design. Thread your machine following the color sequence in your design, and remember to check the tension settings.
Try different fabric and stabilizers to understand their interaction with your machine. Some fabric may need specific stabilizer to prevent distortion. Balance thread tension for clean and professional looking embroidery.
It’s always a good idea to do a test run on a scrap piece of fabric before stitching on your main project. This allows you to check thread tension, verify the design’s placement, and make any necessary adjustments before committing to your final project.
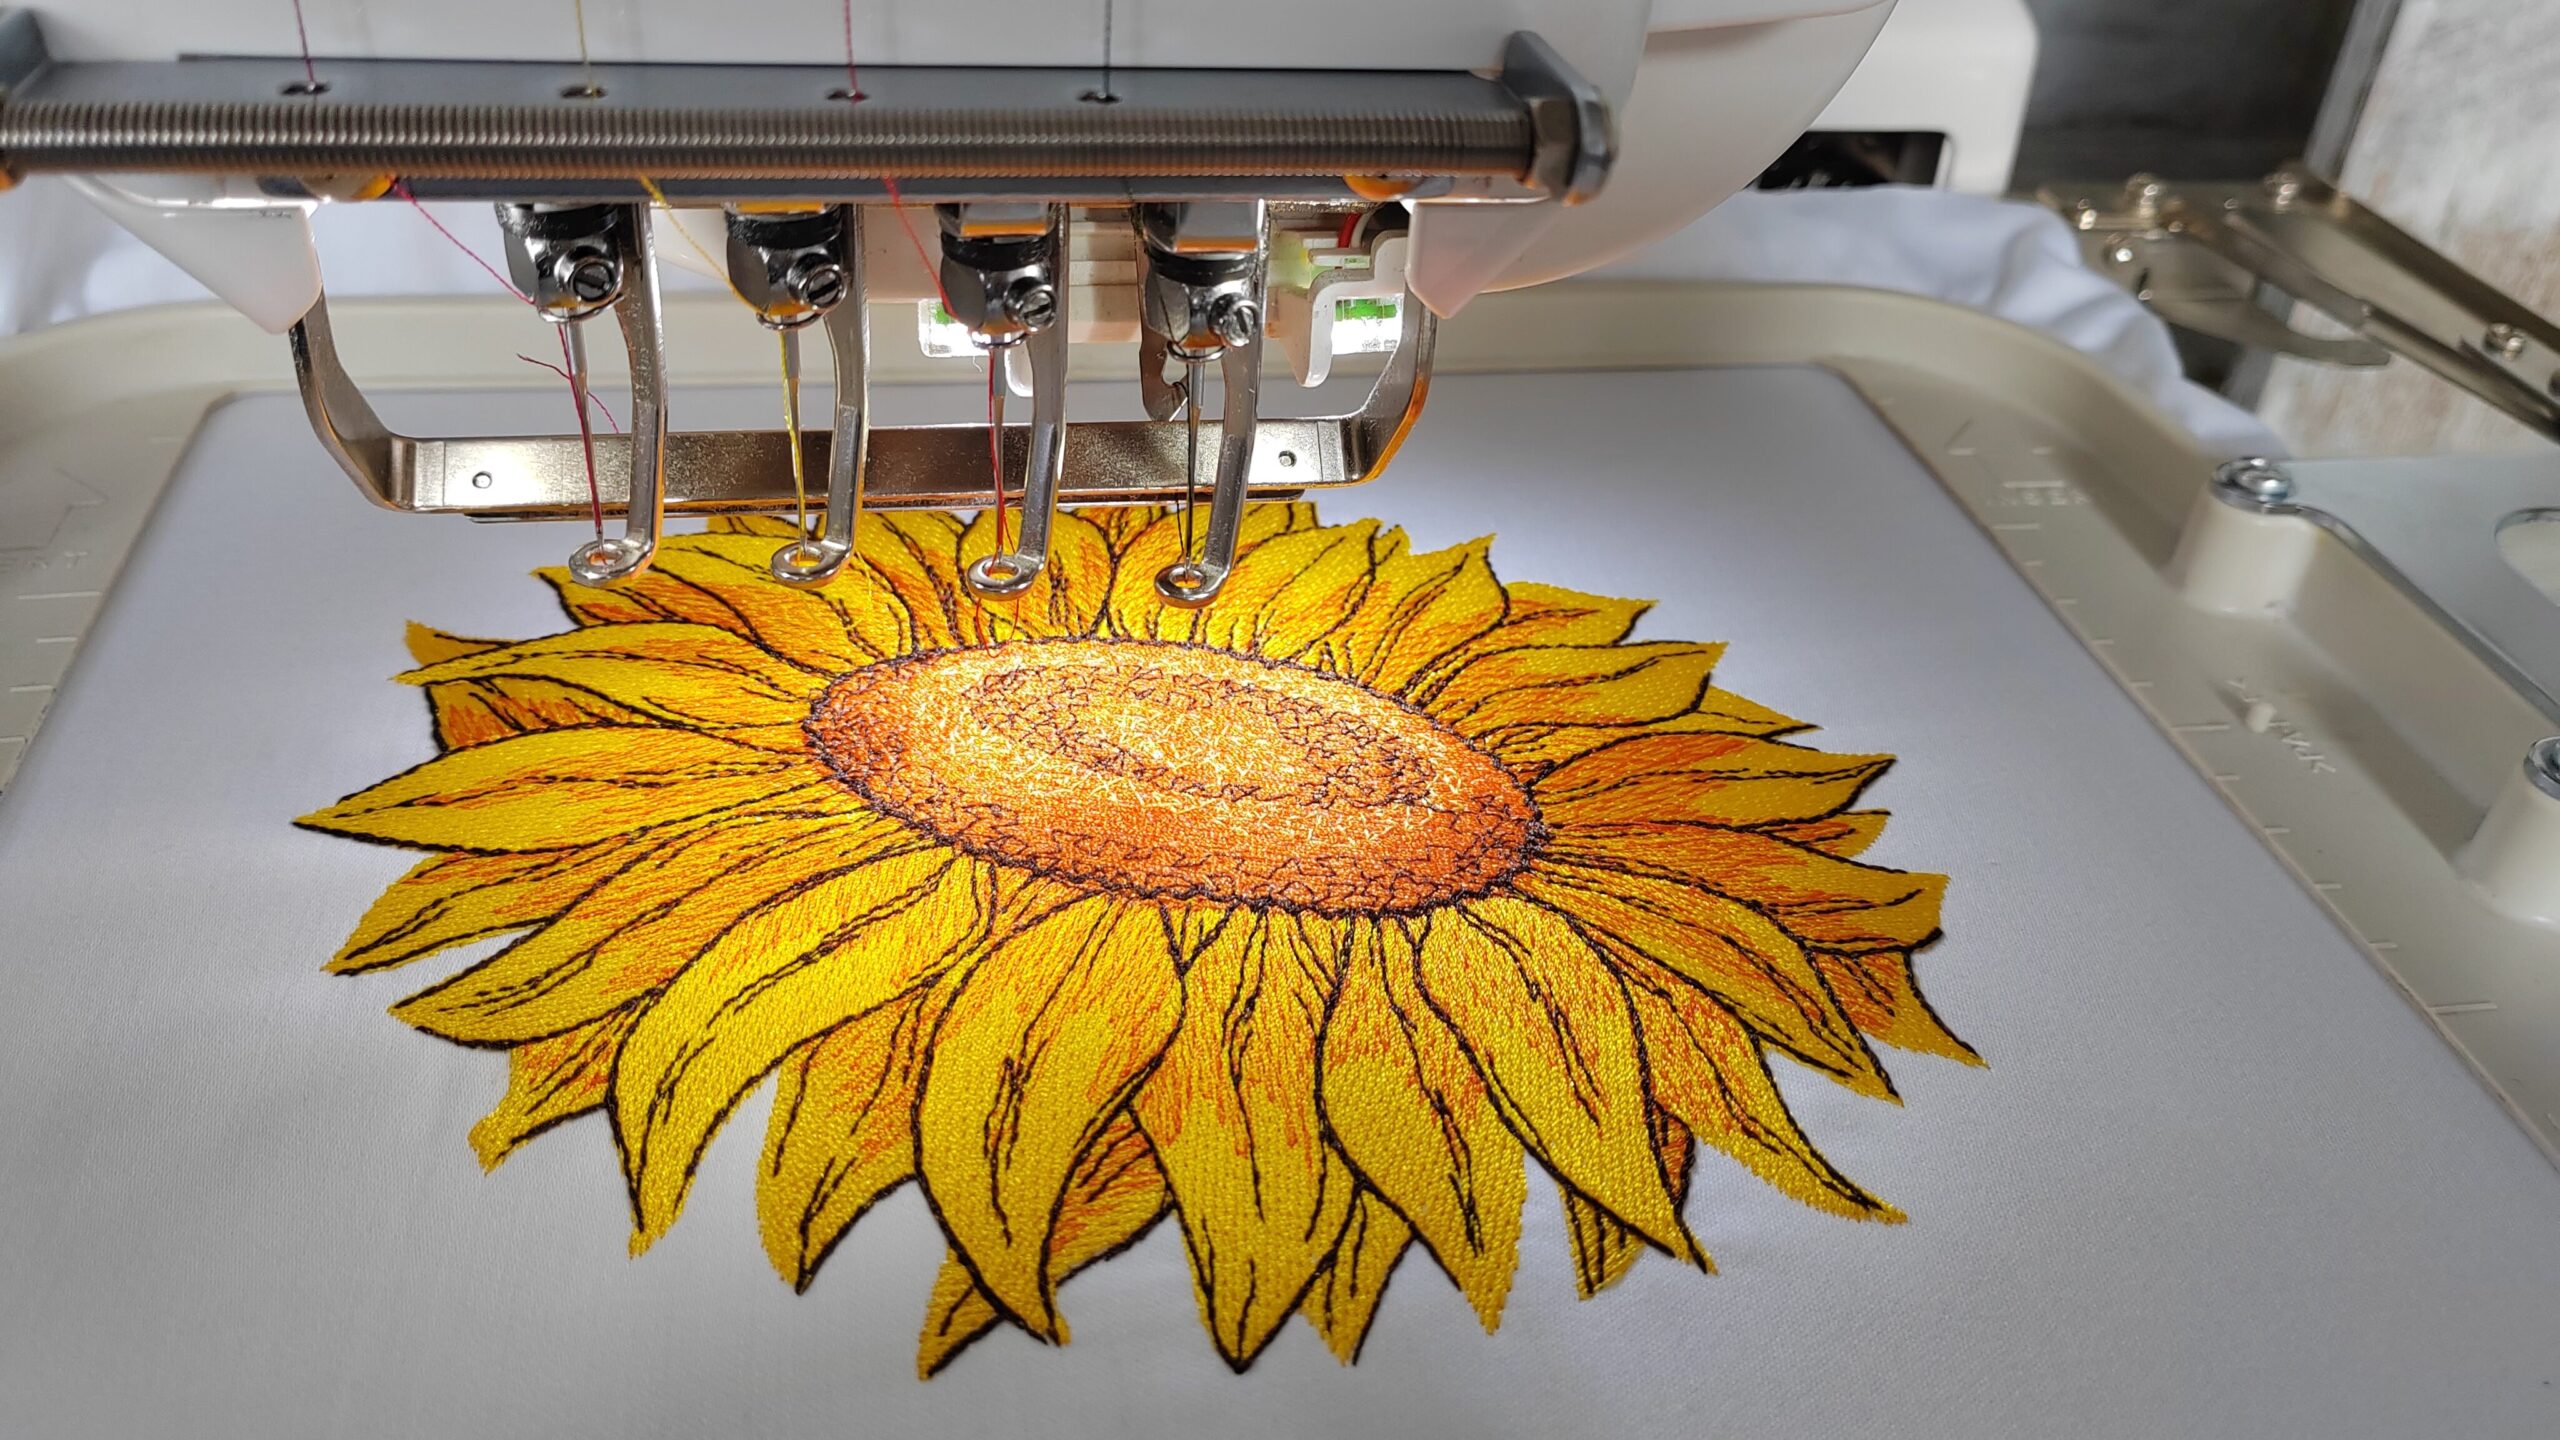
Stitching Your First Embroidery Design

While your machine is in action, keep an eye on the stitching process. Ensure that the fabric remains taut, and address any issues promptly, such as thread breakage or skipped stitches.
Once your machine completes the embroidery, carefully remove the fabric from the hoop. Admire your creation and celebrate the completion of your first machine embroidery project!
Take a moment to reflect on your project. Examine the front and back of the design. Consider what went well and identify areas for improvement. Every project is a learning opportunity, and your skills will continue to grow with every stitch.
I understand that embarking on your first project is a thrilling step in your machine embroidery journey. As you gain confidence and experience, feel free to explore more complex designs. Experiment with different techniques.
Above all, practice, practice and practice! Embroidery improves with practice. Embrace mistakes as valuable learning experiences. Each stitch brings you closer to unleashing your creativity.
Troubleshooting and Maintenance
Embarking on a machine embroidery adventure involves not only creating beautiful designs but also ensuring your embroidery machine stays in top-notch condition. Let’s explore essential troubleshooting and maintenance tips for smooth sailing in your stitching endeavors.
Thread Breakage:
If you encounter thread breakage, re-thread your machine, ensuring the correct path and proper tension. Consider using a higher-quality thread to alleviate the issue.
Bobbin Tension Issues:
Uneven stitches or visible bobbin thread may signal tension problems. Check bobbin winding and insertion, adjusting tension as needed per your machine’s manual.
Fabric Puckering:
Puckering happens when the fabric lacks proper stabilization. Use the right stabilizer and hoop it securely. Experiment with tension and stitch density for the right balance.
Skipped Stitches:
Dull or bent needles can lead to skipped stitches. Change needles regularly and ensure you’re using the correct type for fabric and design. Slower stitching speed can also help.
Machine Jamming:
If your machine jams, stop immediately. Check for tangled threads or fabric and remove obstructions before re-threading.
Regular Cleaning:
Clean lint and dust regularly, following your machine’s manual. A small brush or vacuum can clear debris from the bobbin area and feed dogs.
Oil Your Machine:
Follow your machine’s manual for oiling recommendations to ensure smooth operation and longevity. Use recommended oil and follow guidelines.
Keep It Covered:
When not in use, cover your machine to protect it from dust and sunlight. A dust cover or dedicated case preserves appearance and functionality.
Always check your machine’s manual for troubleshooting and maintenance. By regular maintenance, you’ll extend your machine’s life and minimize interruptions.
Conclusion
Congrats, embroidery enthusiast!
You’ve explored machine embroidery, learned how to pick the right machine, and started your creative journey. Before you go, let’s celebrate and remember some key points.
Firstly, choosing the right machine opens the door to many creative possibilities. Thinking about your budget, features, and brand reputation ensures your machine matches your creative goals.
Creating a dedicated and comfy workspace not only boosts your efficiency but also stimulates creativity.
Now you know how to set up and service your machine. You’re ready to start your first project. In fact, completing your first project is a big achievement. Your design has come to life, showing off your creativity. Remember, every project is a chance to learn and grow as an embroidery artist.
Without a doubt the machine embroidery adventure doesn’t stop here. It’s a continual exploration of color, texture, and imagination.
If you like this post fell free to share it with your friends, fellow embroiderers or on social groups.
Meanwhile, visit our shop for great selection of the best quality embroidery designs.
Stay tuned and follow us on Facebook for more ideas, tips, and inspiration as you keep exploring the vibrant world of machine embroidery.
Happy Stitching!

